

















155
1
Category Detail
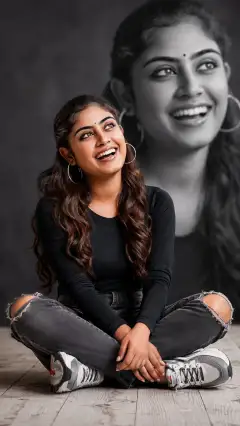
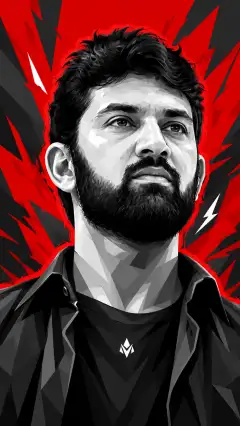
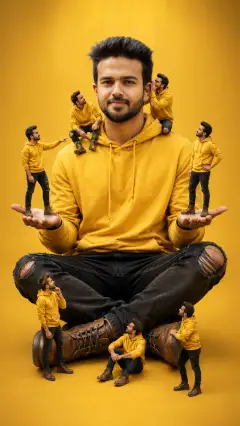
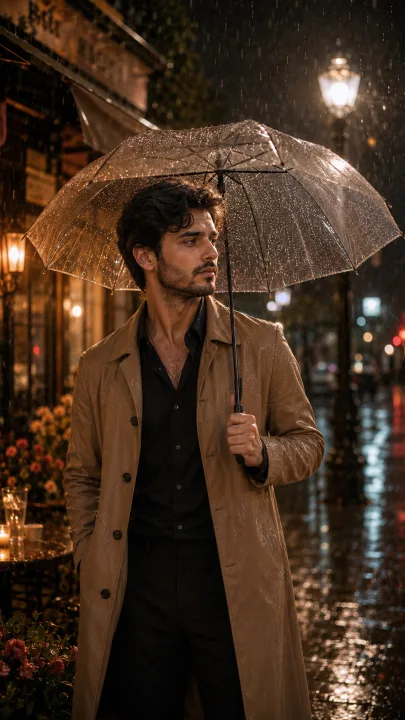
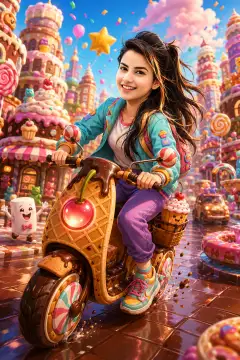
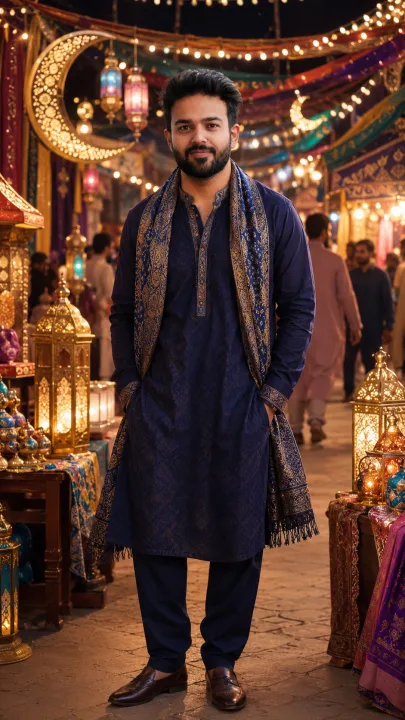
Copy 3D image prompts for avatars, bobbleheads, collectible figures and miniature scenes. Start with an example, then adjust the subject, materials and lighting.
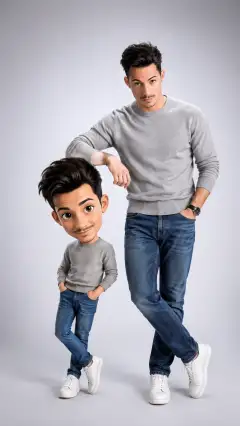
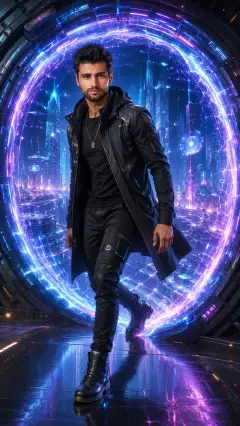
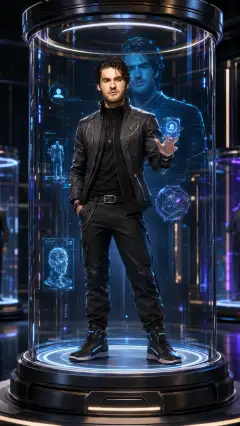

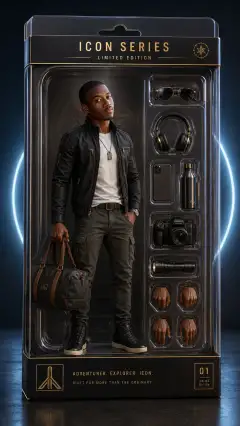
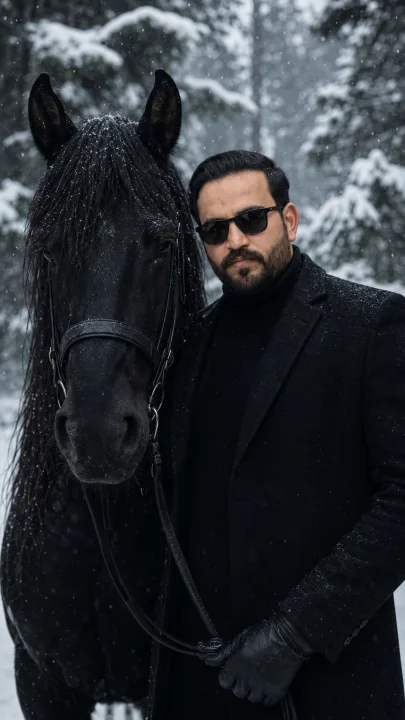
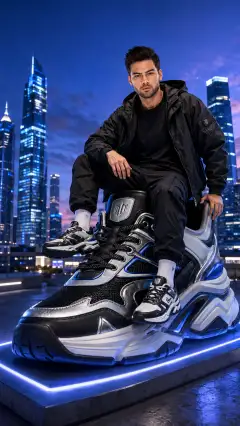
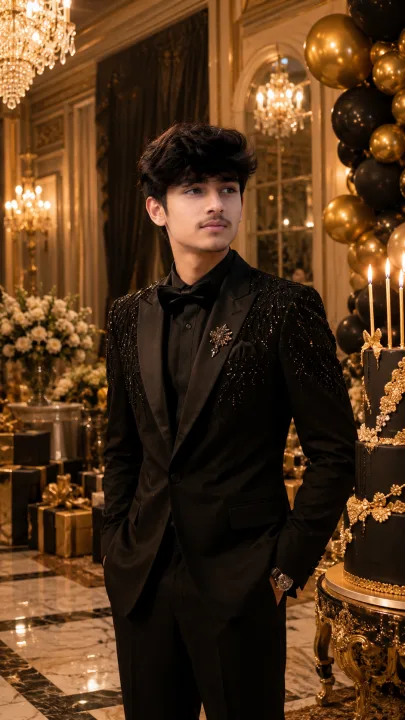
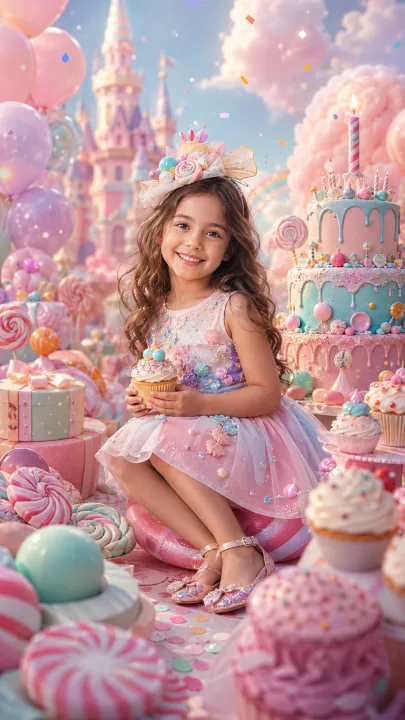
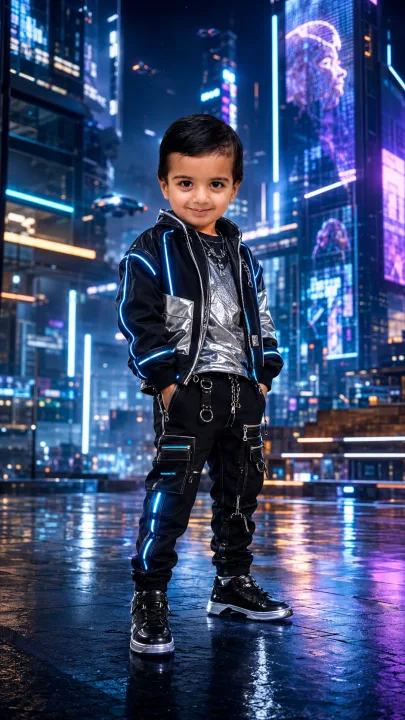
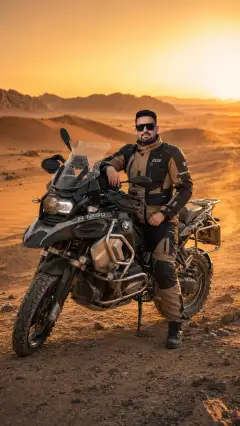
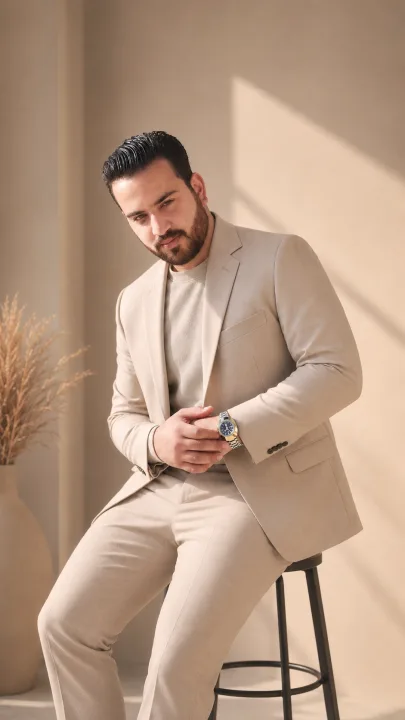
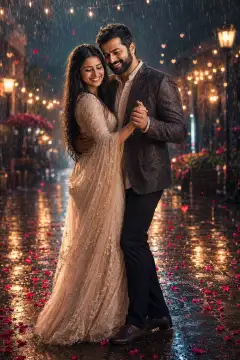
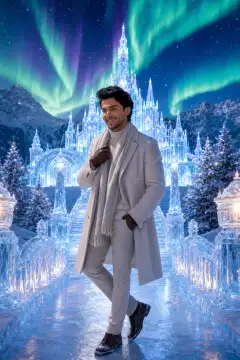
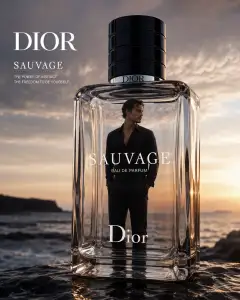
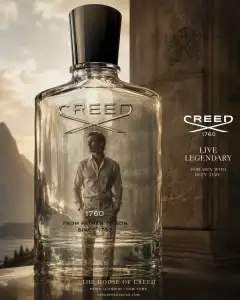
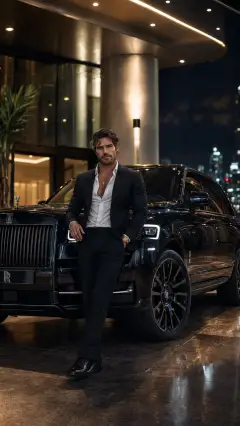
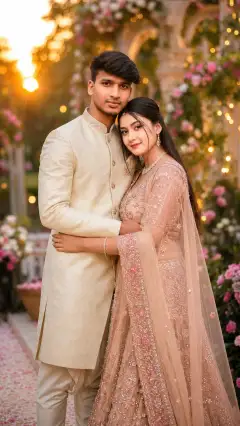
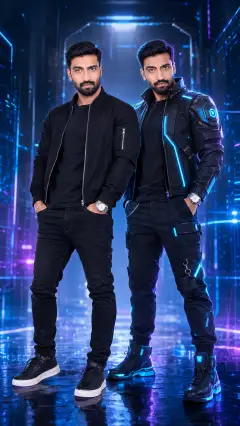
For a playful character portrait, start with the bobblehead example and adjust the outfit and head-to-body proportions. For a futuristic look, explore the neon avatar, portal scene or digital display capsule. The packaged action figure is a starting point for a collectible-toy image; the giant coffee-cup scene explores miniature scale. Open an example above to read and copy its full prompt. Keep the composition you like, replace the subject and remove instructions that do not fit your idea. When a prompt asks for a reference photo, use an image tool that accepts image input.
Build your prompt in this order: subject, 3D style, materials, setting, lighting and framing. Replace the bracketed parts with specific choices. Create a 3D-style image of [subject] as a [bobblehead / collectible figure / miniature scene]. Use [materials and surface finish], place it in [setting], and light it with [light direction and softness]. Show it from [camera angle] with [framing and background]. Keep [important details] clear. Example to adapt: Create a 3D-style image of a miniature explorer beside an oversized ceramic coffee cup on a wooden desk. Give the explorer matte fabric clothing and a small metal backpack. Use warm side lighting, a low camera angle and a softly blurred background. Show the explorer's full body and a grounded shadow. This is a starting prompt to experiment with, not a claim of a tested result.
If the image feels flat, describe foreground and background separation, side lighting and shadows where objects touch the ground. For a toy finish, try smooth vinyl or painted resin; for a more realistic object, specify fabric weave, brushed metal or ceramic glaze. Change one instruction at a time so you can see its effect. Ask for a full-body view when a figure is cropped, a simpler backdrop when details compete, or less reflective glass when a display capsule hides the character. Set the output shape in your image tool where available; a written aspect ratio alone may not control it. The goal here is an image with a three-dimensional appearance. Review each output and adjust the prompt; wording does not guarantee identical results across tools.
It is a text description for an image with a three-dimensional appearance. It describes the subject, shape, materials, lighting and camera view. Examples include stylized avatars, toy-like figures and miniature scenes.
This collection provides image examples and prompt text, not editable meshes, animation rigs or 3D-printing files. A rendered-looking image is not a downloadable 3D model.
Choose a reference-photo example, such as the bobblehead or collectible figure. In an image tool that supports reference images, supply your photo and edit the outfit, pose and setting instructions. Check the resulting face and proportions; a request to preserve likeness does not guarantee an exact match.
Describe a clear light direction, visible side surfaces, foreground and background separation, and contact shadows. Try a three-quarter camera view and specify the surface finish. Adjust one detail at a time and compare the results.
Use the descriptive text as a starting point, then adapt it to the selected tool. Reference-photo input, output sizes and negative-prompt controls differ. Set supported options in that tool and expect the image to vary rather than assuming every tool will reproduce the example.